Building a retaining wall is one of the smartest investments you can make in your landscape. Whether you’re battling a sloped backyard, preventing soil erosion, or simply carving out a level patio space, cement blocks for retaining wall construction offer unmatched durability, affordability, and design flexibility. But before you start stacking, there’s a lot to know about choosing the right blocks, planning your project, and getting that professional finish.
Why Choose Cement Blocks for Your Retaining Wall?
When it comes to retaining wall materials, cement blocks consistently top the list for homeowners and contractors alike. They strike the perfect balance between cost, strength, and aesthetic appeal. Unlike timber, which rots, or natural stone, which can be wildly expensive, concrete blocks deliver decades of reliable performance.
Here are the main reasons cement blocks dominate the retaining wall market:
- Exceptional durability: Concrete withstands moisture, freeze-thaw cycles, and ground pressure for 50+ years.
- Cost-effective: Significantly cheaper than natural stone or premium pavers.
- Easy installation: Many systems are designed for DIY-friendly assembly with interlocking designs.
- Design versatility: Available in countless colors, textures, and shapes.
- Low maintenance: Requires minimal upkeep once properly installed.
Types of Cement Blocks for Retaining Walls
Not all concrete blocks are created equal. Understanding the different types will help you make the best choice for your specific project, budget, and aesthetic preferences.
1. Interlocking Concrete Blocks
These are the gold standard for modern DIY retaining walls. Featuring built-in lips or pins that lock each course into place, interlocking blocks eliminate the need for mortar in walls under 4 feet. Brands like Allan Block, Versa-Lok, and Pavestone are popular choices.
2. Standard Concrete Masonry Units (CMUs)
The classic gray “cinder blocks” you’ve seen at construction sites. These hollow blocks are incredibly strong when reinforced with rebar and filled with concrete, making them ideal for taller, structural walls, though they typically require a stucco or veneer finish for curb appeal.
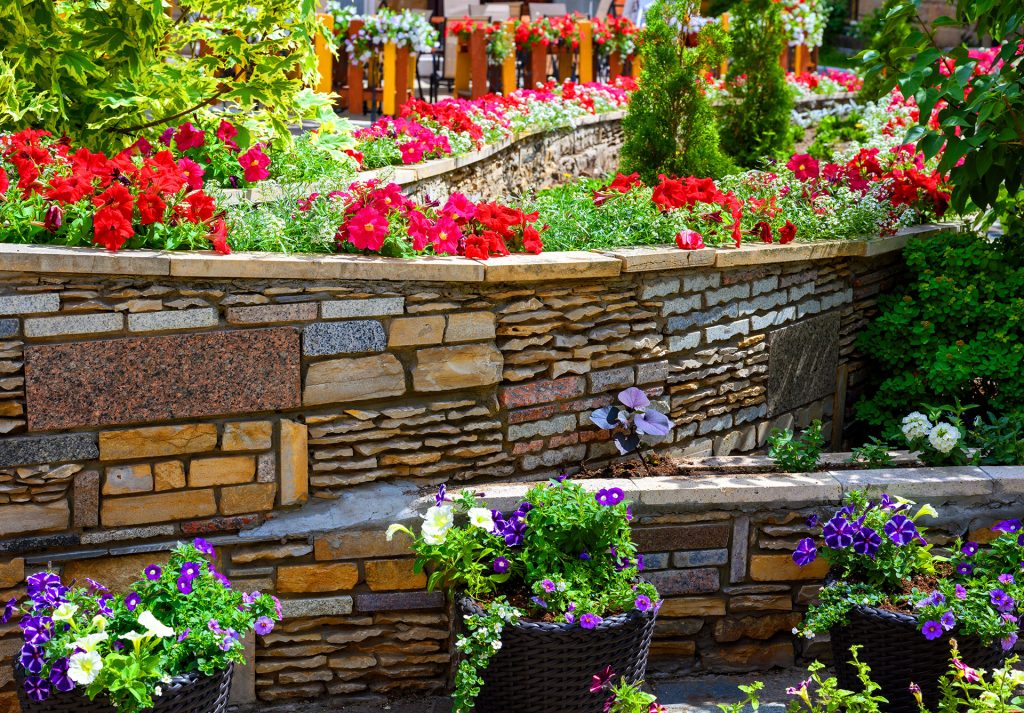
3. Decorative Split-Face Blocks
Designed to mimic the look of natural stone, split-face blocks feature a rough, textured front that adds visual interest. They’re a favorite for front-yard walls and garden borders where appearance matters as much as function.
4. Poured Concrete Blocks
Large, heavy-duty blocks (often weighing thousands of pounds) used for commercial-grade retaining walls or major erosion control projects. These typically require equipment to install but offer maximum strength.
Planning Your Retaining Wall Project
A successful retaining wall starts long before the first block is laid. Proper planning is the difference between a wall that lasts decades and one that bulges, cracks, or collapses after a few seasons.
Calculate Your Materials
To determine how many blocks you’ll need, measure the length and desired height of your wall, then divide by the dimensions of your chosen block. Always order 5-10% extra to account for cuts and breakage.
Consider Drainage
Water is the #1 enemy of retaining walls. Hydrostatic pressure from poorly drained soil can push even the strongest wall over. Plan for:
- A gravel backfill behind the wall (at least 12 inches thick)
- Perforated drain pipe at the base, sloped to daylight
- Landscape fabric to prevent soil from clogging the gravel
- Weep holes for walls built with mortar
Think About Aesthetics
Your retaining wall should complement your home’s overall style. If you’re weighing different concrete finishes for your hardscape projects, you might appreciate this detailed comparison of stamped versus traditional concrete options for retaining walls and patios, it’s a helpful resource for understanding how surface treatments affect both appearance and longevity.
Step-by-Step: Installing Cement Blocks for a Retaining Wall
Ready to roll up your sleeves? Here’s a streamlined process for building a sturdy retaining wall up to 3 feet tall using interlocking cement blocks.
Step 1: Mark and Excavate
Use stakes and string to mark your wall’s path. Dig a trench that’s twice as wide as your block and deep enough to bury the first course completely (typically 6-8 inches below grade).
Step 2: Build a Solid Base
Add 4-6 inches of crushed gravel to the trench, compact it thoroughly, and top with a thin layer of leveling sand. This base is critical, an uneven foundation will cause problems all the way up.
Step 3: Lay the First Course
Place each block carefully, checking for level both side-to-side and front-to-back. Take your time here; every subsequent course depends on this one being perfect.
Step 4: Stack Subsequent Courses
Stagger the joints (like brickwork) for maximum strength. Most interlocking systems automatically create a slight backward lean called “batter,” which helps the wall resist soil pressure.
Step 5: Backfill and Compact
After every course or two, add gravel behind the wall and compact it. Install your drain pipe at the base, and finish with topsoil for the last 6 inches if you’ll be planting above.
Step 6: Cap It Off
Cap blocks give your wall a finished, professional look and protect the inner blocks from weathering. Secure them with concrete adhesive.
Common Mistakes to Avoid
Even experienced DIYers make these errors. Avoiding them can save you thousands in repairs down the road:
- Skipping drainage: The fastest way to wall failure.
- Building too tall without engineering: Walls over 4 feet need professional design.
- Using the wrong base material: Sand alone won’t compact properly, use crushed gravel.
- Ignoring wall batter: A wall built perfectly vertical will lean forward over time.
- Not staggering joints: Aligned joints create weak vertical seams.
Cost Breakdown: What to Expect
Budgeting for a cement block retaining wall depends on several factors, but here’s a general breakdown for a typical residential project:
$10–$25 per square face foot for blocks, gravel, and drainage materials.
$15–$30 per square foot if you do the labor yourself.
$40–$75 per square foot including labor and equipment.
Maintaining Your Retaining Wall
One of the best things about cement block walls is how little maintenance they demand. Still, a few annual checks will keep yours looking great for decades:
- Inspect for cracks, leaning, or bulging each spring.
- Clear debris from drainage outlets and weep holes.
- Power wash dirt and algae buildup as needed.
- Reseal capstones every few years if they’re loose.
- Trim back vegetation that may be growing into joints.
Final Thoughts
Cement blocks for retaining wall projects offer the perfect combination of strength, beauty, and value. Whether you’re tackling a small garden border or a major slope stabilization project, modern interlocking concrete block systems make it possible for homeowners to achieve professional-looking results. The keys to success are simple: invest in proper planning, never skimp on drainage, build on a solid base, and respect the height limits that require engineering expertise.
With the right approach, your retaining wall won’t just hold back soil, it’ll add structure, dimension, and serious curb appeal to your landscape for generations to come. Now grab those gloves, pick out your blocks, and start building something that lasts.